ShopDreamUp AI ArtDreamUp
Deviation Actions


Suggested Deviants


Suggested Collections


You Might Like…


Featured in Groups


Description
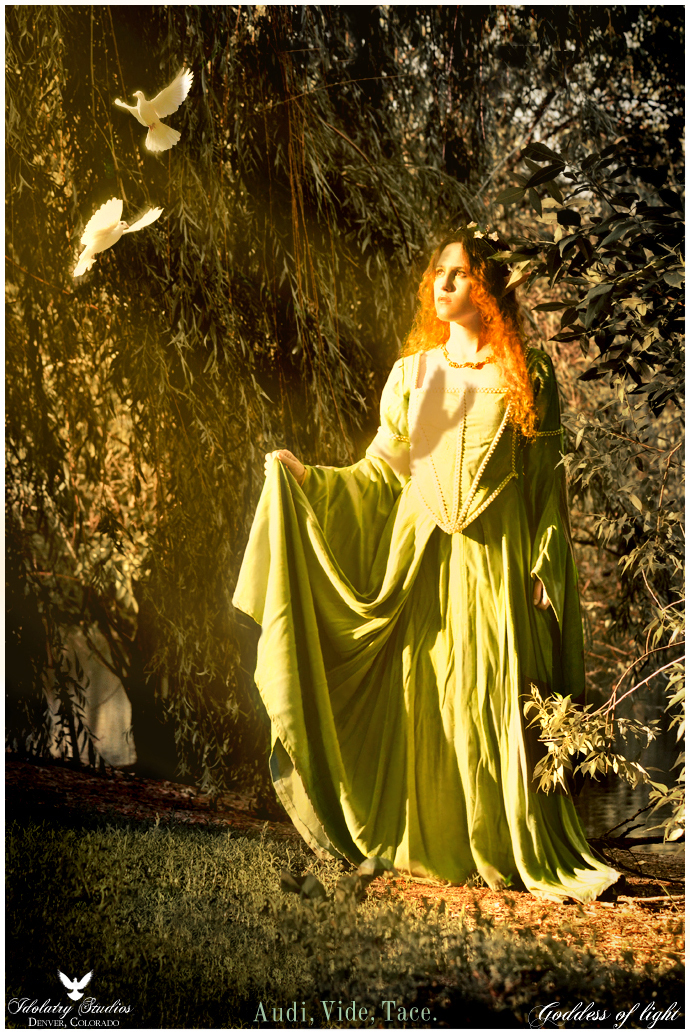
Image size
690x1034px 984.15 KB
Make
NIKON CORPORATION
Model
NIKON D300
Shutter Speed
1/250 second
Aperture
F/5.6
Focal Length
80 mm
ISO Speed
400
Date Taken
Jun 24, 2009, 6:52:01 PM
© 2009 - 2024 idolatrystudios
Comments6
Join the community to add your comment. Already a deviant? Log In
that is just magical. Gorgeous!